Custom Chopper Mini Bike
- Andy Heck
- Nov 2, 2018
- 5 min read
Updated: Nov 5, 2018
For the past 15 years or so, my dad and I have occasionally talked about building a chopper mini bike. As years went by and other projects took priority, we both probably figured that the mini bike wasn’t going to happen. However, now that I’ve moved away to North Carolina and my father has retired, we needed a fun project to work on when we were together.
A rough design had always been in my head, but once we decided we were going to do this, I put some thought around it. There were 3 primary influences. The first was the bicycles we had modified when I was younger. I knew we could make this mini bike because we had made 5 or 6 chopper mini bikes in the past. None of them truly had a totally custom frame, but were more pieces of existing bikes hacked and welded together.
In 2015, I had the chance to work with my friend JJ on his panhead chopper. I’m not the fabricator he is, but in helping him on the frame, I learned a lot and got the confidence to make a mini bike frame from scratch. The third influence was Indian Larry.
I had always enjoyed watching The Great Biker Build-off. I wasn’t ever really into motorcycles but I enjoyed watching the process of building them. Indian Larry had jumped out at me because his bikes had an old school look. More specifically, I was fascinated by the twisted down tube he did on one of his bikes. This was definitely going to be something I was going to try for my mini bike.
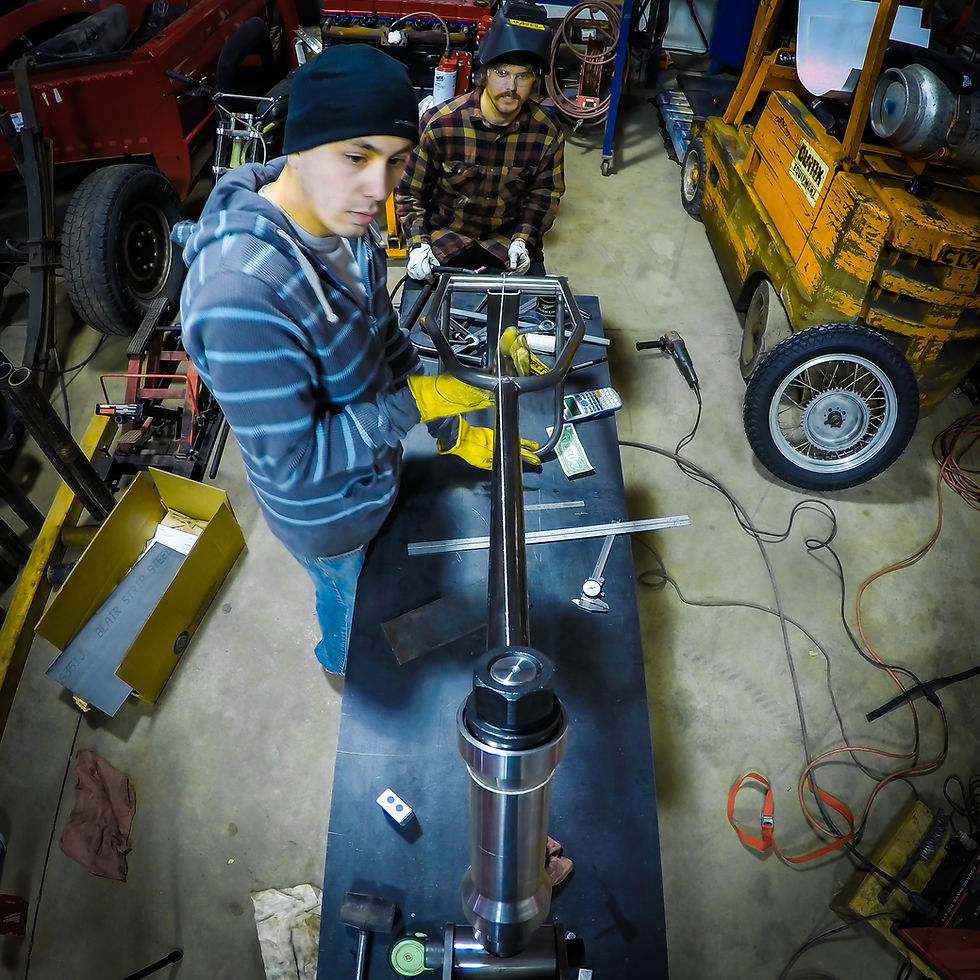
So, I ordered up a bunch of parts on Amazon. This included a springer seat, foot pegs, and a downhill mountain bike fork. I’ve never seen a mtb fork on a mini bike but I had always thought it would look cool. I ended up buying the cheapest one I could find and had to have it shipped from China. Because of this, I did not have it when I was starting the frame. I planned a weekend in Wisconsin to build this bike and my Dad and I got right to it.

I ordered some tubing and some square stock to get myself going. Unfortunately, the thin walled tubes that I had purchased were not the right choice considering that all I had was a cheap, Harbor Freight tubing bender. This was pretty simple to get over because my dad has plenty of metal laying around and we were able to use some black pipe that worked just fine.
So, we started with the tubes under the motor mounts. One bend in each and cut at an angle to meet up with the down tube. Then, we made the stays. Pretty sure I did this exactly how JJ did it on his chopper. Luckily, I had my seat so I could measure up its location. As far as the rear wheel, I had a donor bike my neighbor borrowed me to mock everything up.

When it came to notching the tubing, it was a little sketchy, as you can see by my make-shift notcher setup using a drill press and some hole saws. It did work incredibly well, though.
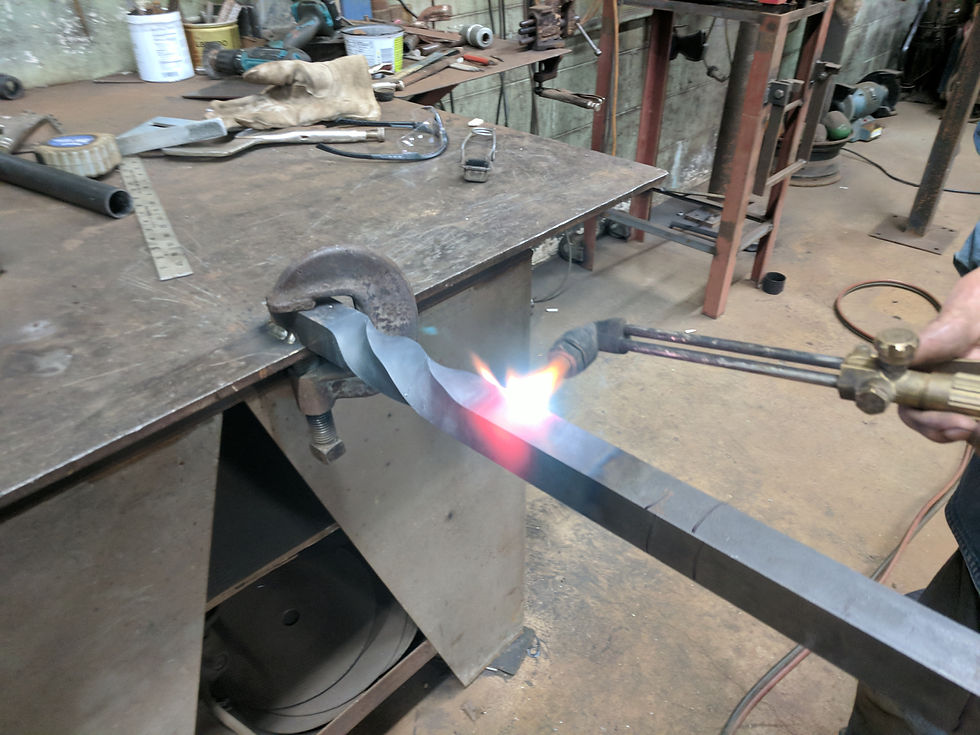
Now, the centerpiece: the double twisted down tube I didn’t film the process but here is how it went: It is 1 1/4″ solid square stock. One end welded to the work bench, the other put through a 3″ diameter pipe welded to a stand same height as the table. Then, a 6ft square pipe/handle welded to that end. We heated it up with an oxy-acetylene torch until it was red hot. Twisted half a turn one way, half the other, and half back.The process after the setup took about a half hour.

Would have been better with 2 torches. (Which is what Indian Larry did.)
So, we got the down tube twisted, notched, and welded in. Then the top tube was welded in. This is when I realized that we were a little off.

I didn’t like how long the frame looked. We just had to grind these pieces off and get it right. Keep in mind, I did not have the fork at this point so we were kind of winging it.
I replaced the top tube with a little less bend and the down tube was positioned a little steeper. This meant that we didn’t have to change the notch at all.

At this point, I liked it and the forks came in. We lucked out and the angle of the fork was exactly where I wanted it.

For the head tube notche, I had to drill it with a handheld drill. This took a long time… at least an hour. But, the nice thing was that the angle was exactly perpendicular to the top tube angle. This helped in guiding me. You can also see that I decided to hack off the stays. I liked that they went to a point but I didn’t like that the rear end stuck out past the wheel.
Once we welded in the head tube, we were ready for a full mock up. We pieced the bike together with parts we had laying around and parts off the donor bike. I was super excited about how this looked. I knew there were a few things that needed to be adjusted and figured out but it looked pretty badass to me. Unfortunately, at this time, I needed to head back to NC.

It wasn’t a terrible thing that I got this break because I attended the War Run mini bike race. Here, I was able to see tons of mini bikes and saw some things I wanted to incorporate into mine. The biggest thing was a torque converter. So many of the guys that had regular clutches were throwing chains. I knew my chain would be pretty long so I wanted to avoid this. It also allowed me to center up the engine. I ordered in the rest of the parts and had them sent to Wisconsin.
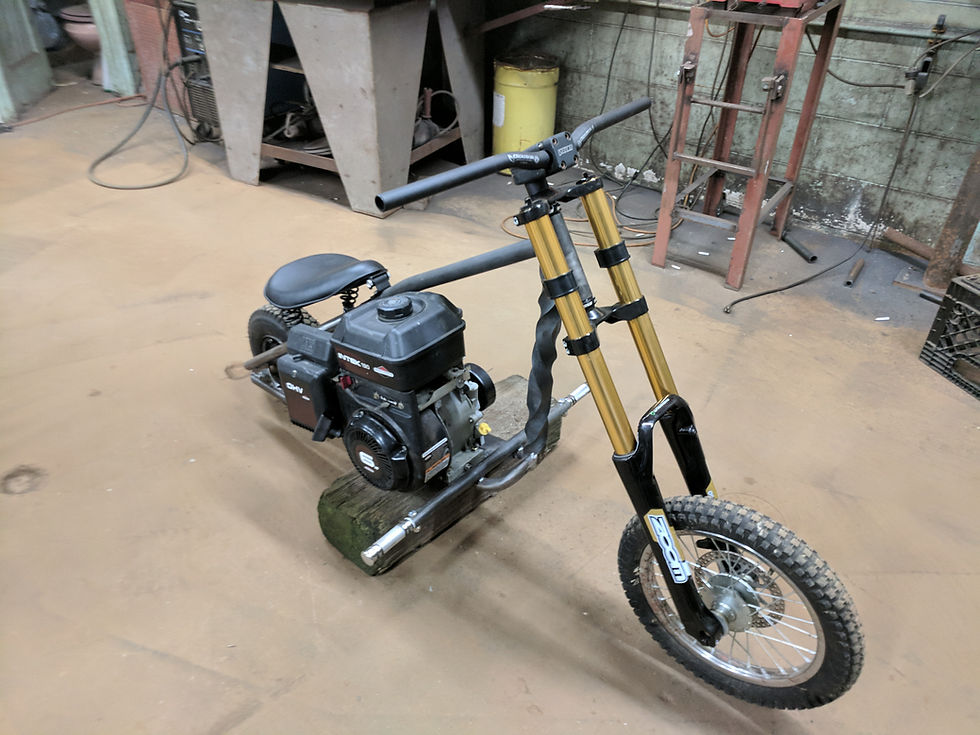
During Christmas break, I drove up there and we figured everything out. The biggest issue was the rear wheel. Since we had only used a mock up wheel and I knew I needed something bigger, I had a hard time finding the right one. After a bunch of modification and borderline failure, we got the 13.5” tall tire to fit with the chainring and the brakes. Literally, if we had made the rear triangle 1/16” narrower, this would not have worked. I also wish I had done some research on small engines. The one I have works great, but I now know the potential of the Predator 212cc engines.
After doing the final welding, we put the bike together and I was able to squeeze in a very cold ride before heading back home with the bike. Oh yeah, the fender was a last minute add. Cut from a trailer fender.
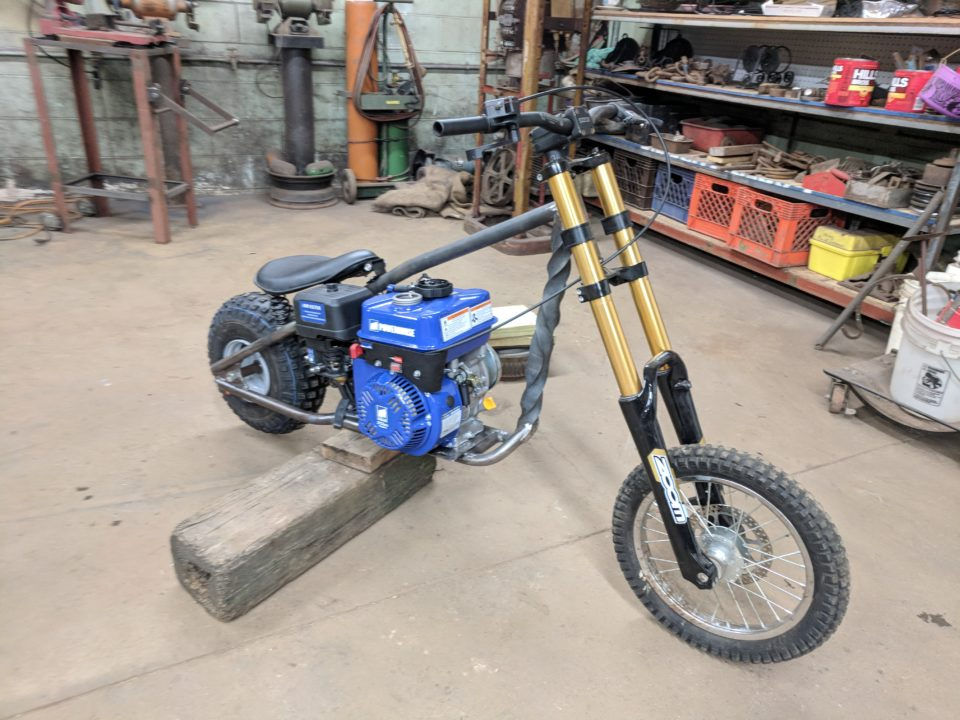
Now, the bike was ready for powder and final assembly.
That is, except for the front wheel. (The one on there would have required an $80 set of bearings to make work.) I had a couple things lined up to get a custom 16” rim laced to a 20mm thru axle hub but they all fell through. I ended up ordering the pieces and building the wheel myself, which I hadn’t done in over 10 years. So, I was pretty proud of myself for getting that done.

Overall, I’ve gotten really good feedback and a few suggested changes. I like it the way it is, though and I’m really happy with the way it rides.

Comments